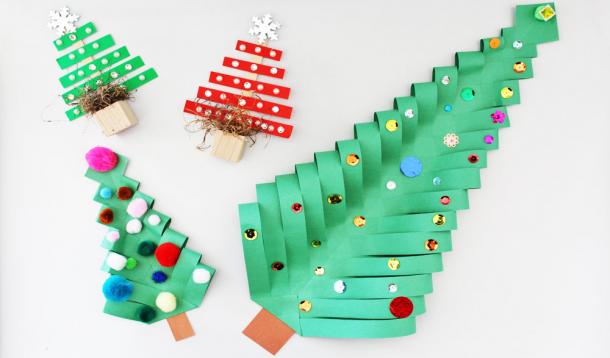
I’m a big fan of keeping things simple, which is why I love these two Christmas tree craft ideas.
You need little more than paper, glue and a few glittery bits to pull off something that requires just a few minutes of your time, yet looks like it took hours to plan and create. And only you’ll know the truth because I promise not to tell.
Ready? Let’s begin.
What You Need:
What You Do:
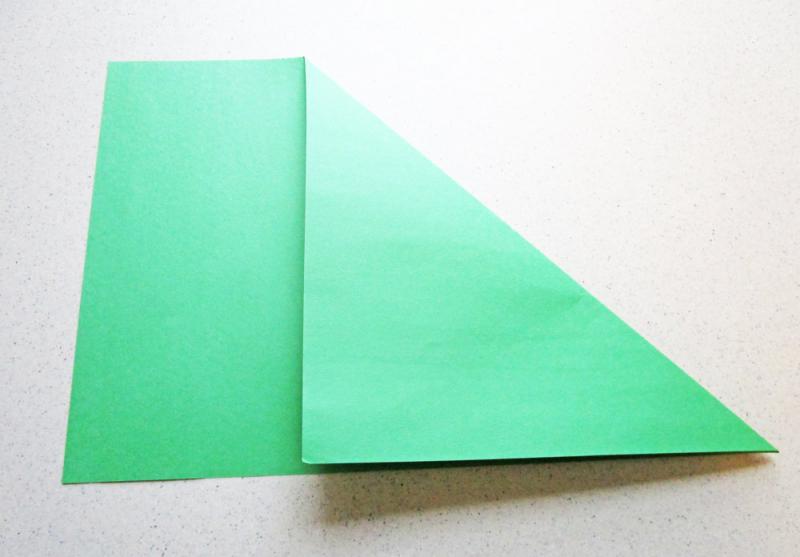
Lay out a sheet of paper.
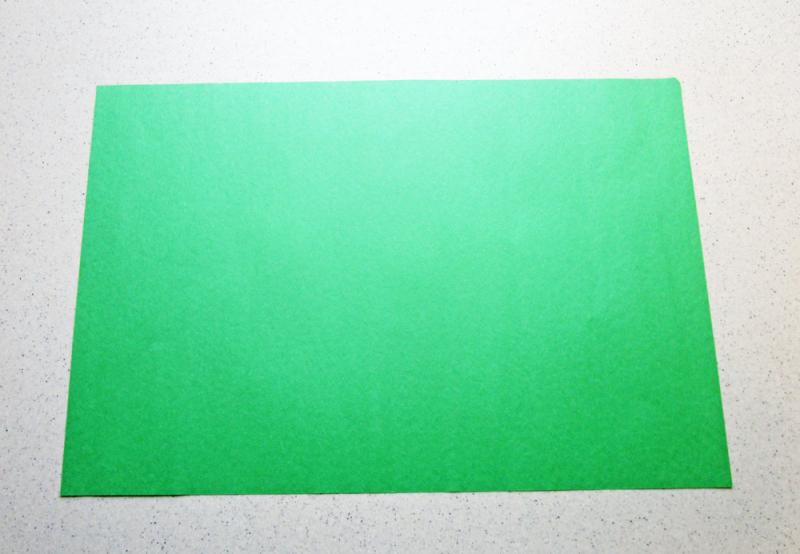
Fold the paper to create a square.
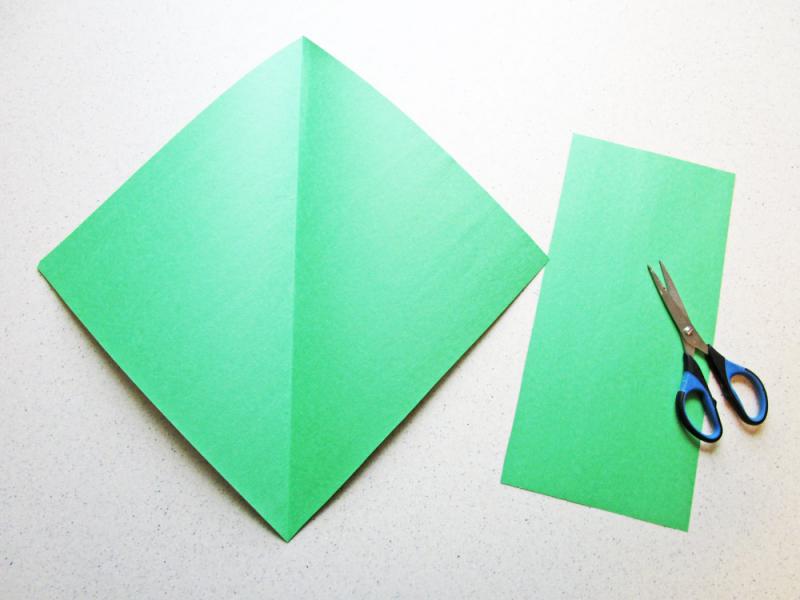
Cut the paper and save the extra bit.
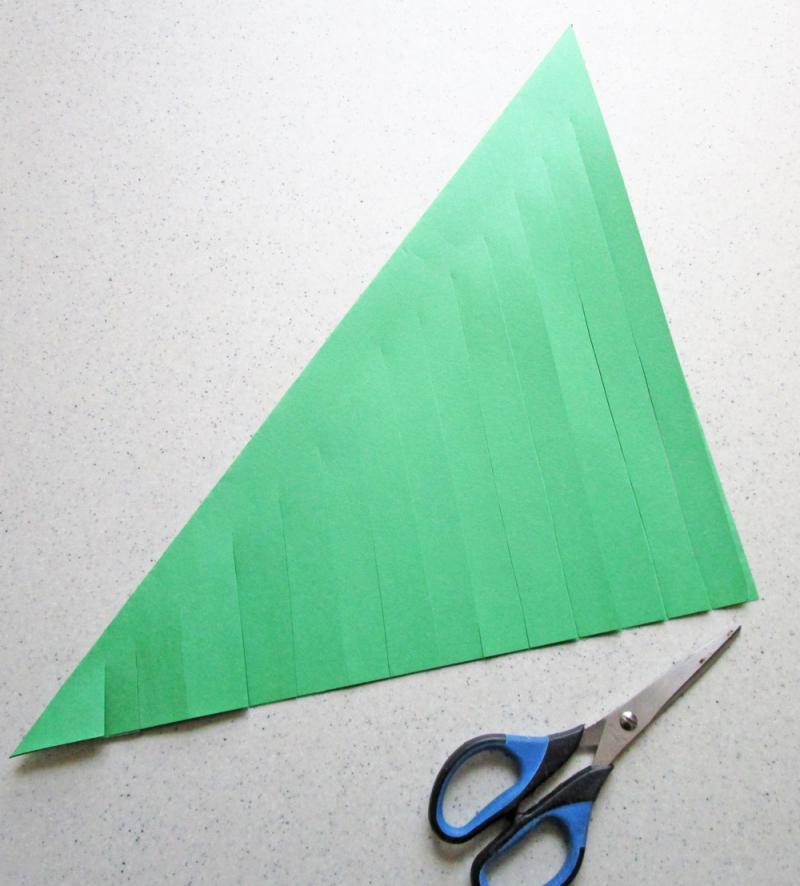
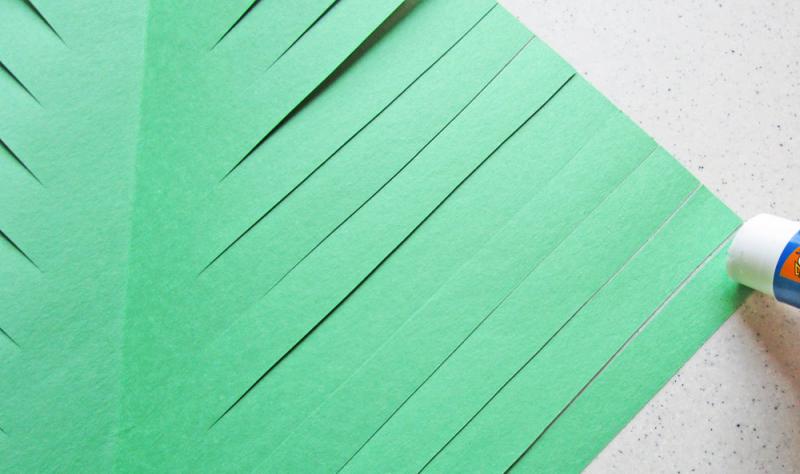
Fold the square piece of paper again and start cutting - from an open end - towards the folded edge. Don't cut all the way through! Instead, leave a space of a few centimetres at the folded edge. Don't worry if the strips are of equal width because it really doesn't matter.
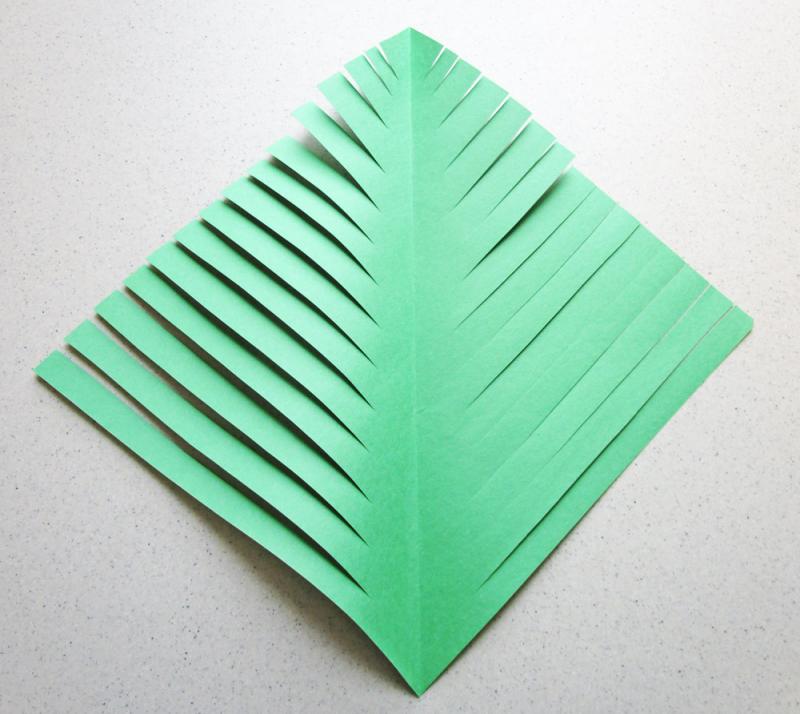
Unfold the paper -- longest strips at the bottom, shortest at the top.
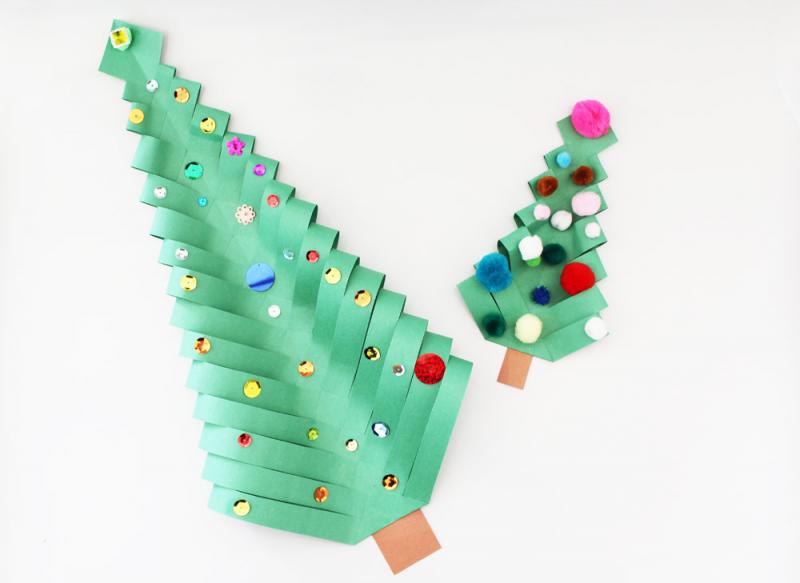
Working from the bottom up, add glue to the tips of the strips and fold them into the centre. Like so...

Keep going until both sides are complete.

Since that was so easy, go ahead and make another mini tree using your scrap paper. Remember to fold the paper into a square and trim the excess before you snip, fold and glue.

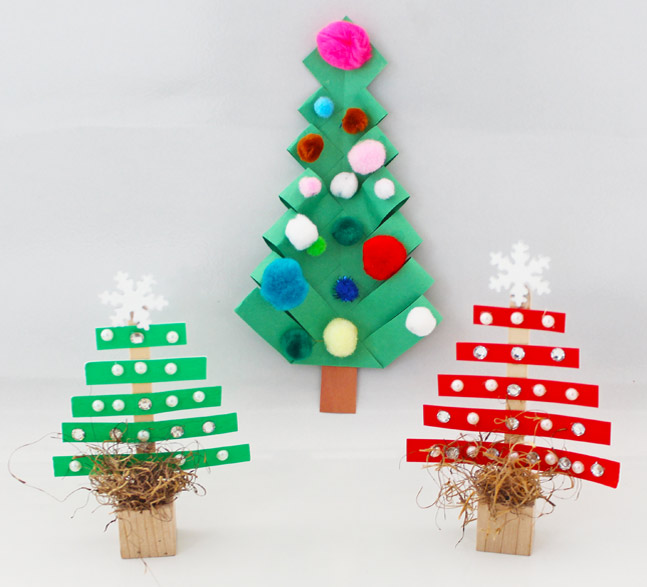
Fold and glue the bottom points up and stick a square piece of brown paper on the back as a tree trunk. Then, bedazzle the heck out of your creations using whatever you have on hand.
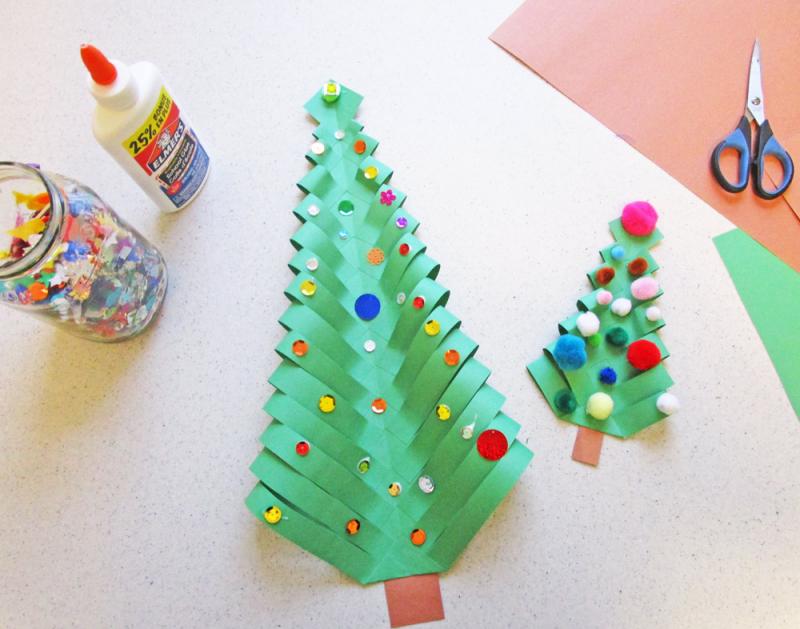
Display your cool crafts on a window or wall, or use them on gifts as an alternative to bows.
Next up...
What You Need:
What You Do:
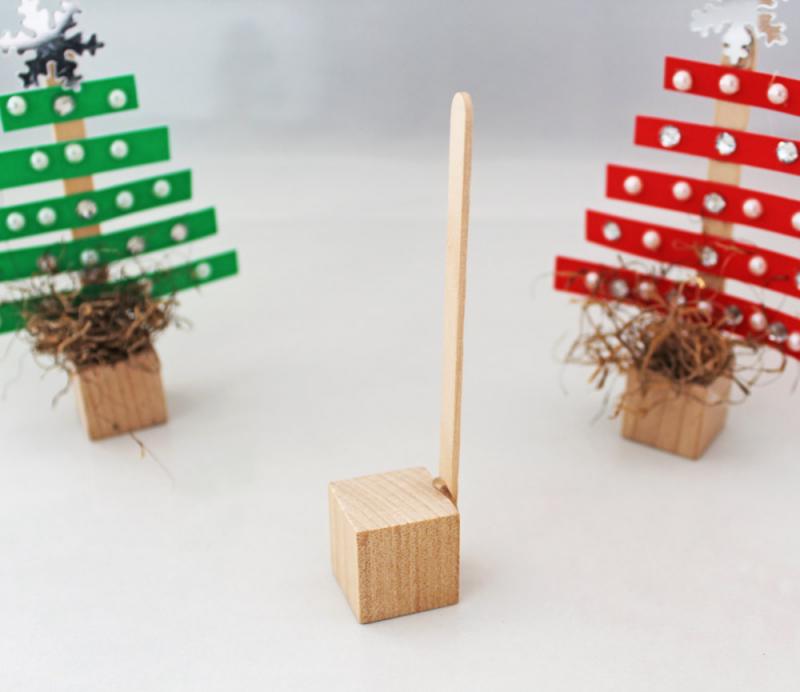
Glue a popsicle stick to a wooden block or wine cork. Or, place the stick in a hunk of play dough.
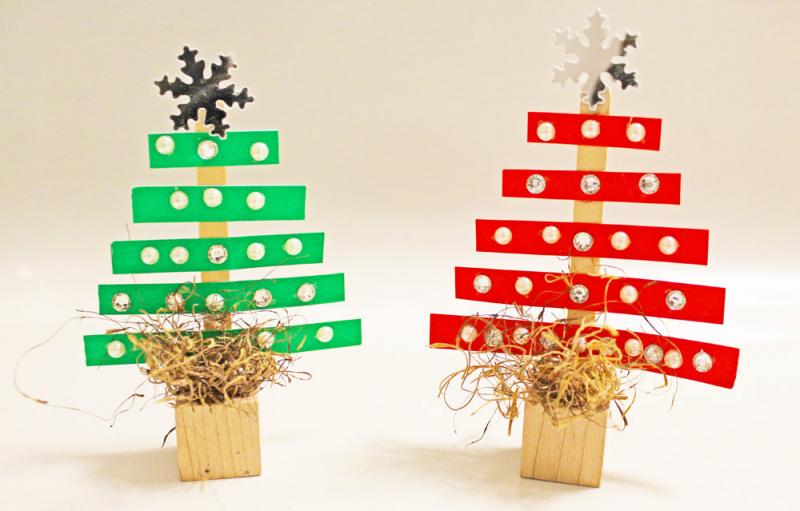
Then, cut five small strips of paper - from larger to smaller. Glue the paper strips to the popsicle stick, add some shiny button stickers and a sticker star and your tree is ready for the mantle.
If you are so inclined, you can also glue a little stash of dried grass or raffia to help camouflage the base of the tree. But that's entirely up to you.
Voila!
And because these Christmas trees take no time at all to make, you'll have lots of time to whip up a batch of egg nog before diving into even MORE easy holiday crafts.
Every December, the walls of our wood paneled family room would become an art gallery of sorts, complete with images of wreaths, snow capped mountains, reindeer, and the baby Jesus. As soon as the snow started to fall, my mom would run lengths of yarn wall-to-wall, and secure it in place with thumb tacks. As the greeting cards arrived in the mailbox, they were opened, read and hung on display, at least until mid-January. I still remember sitting on our corduroy orange sofa, unable to lean my head back because of the multitude of holiday messages hanging behind me.
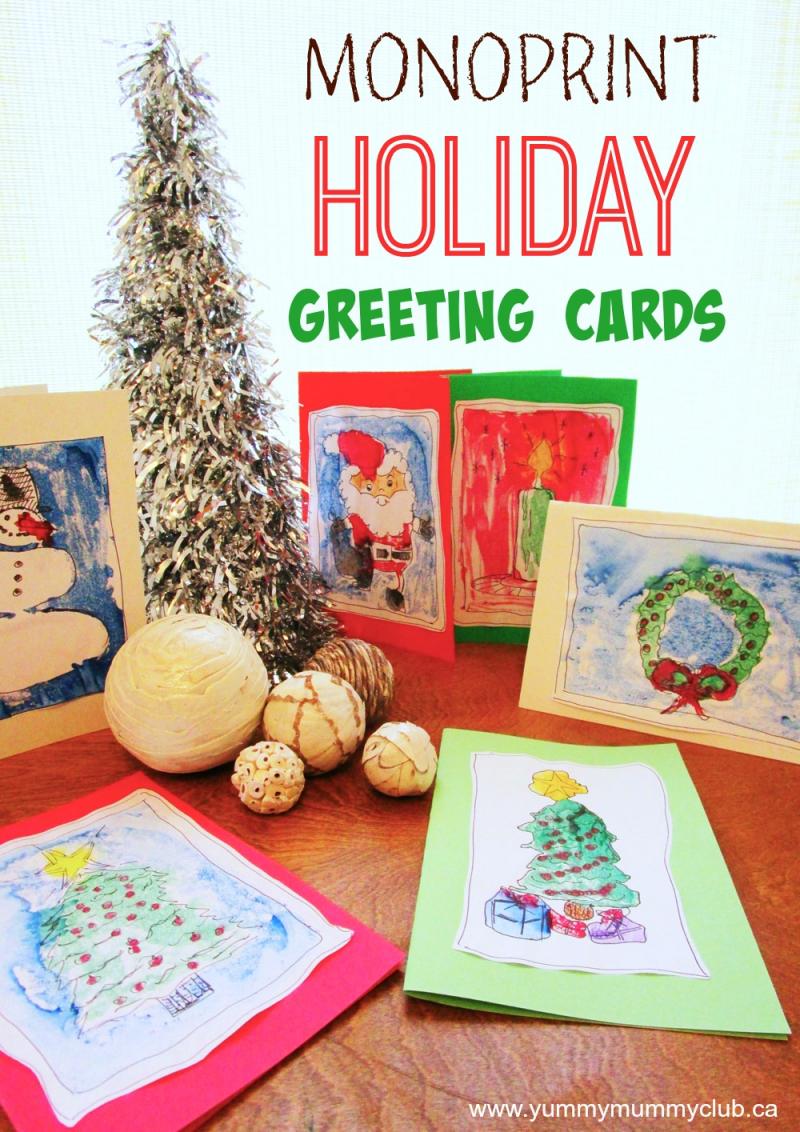
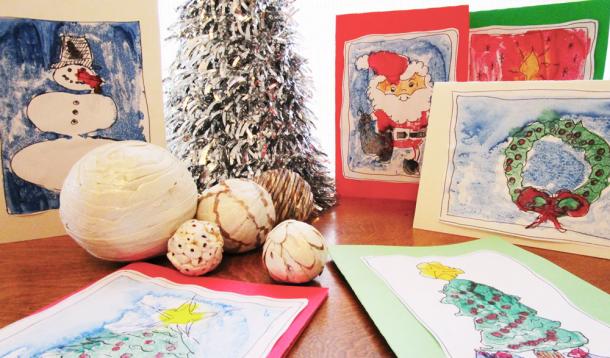
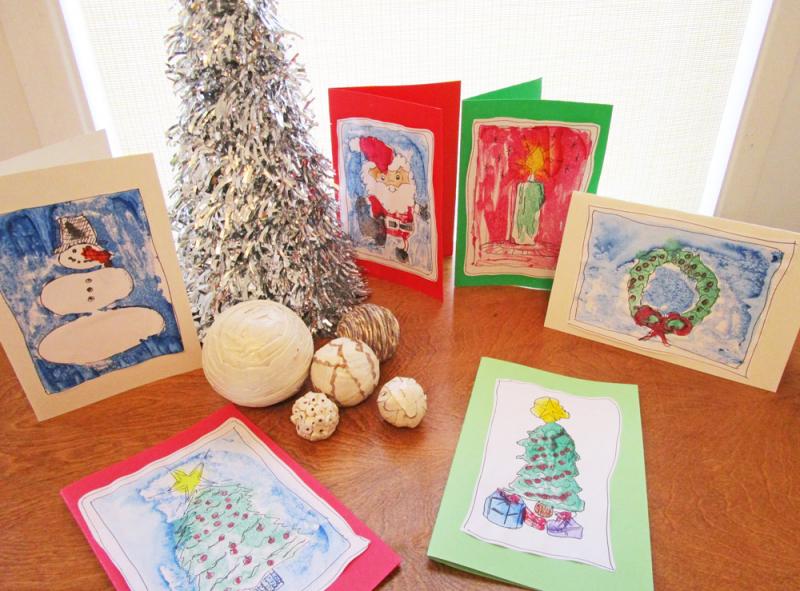
These days, many folks send seasonal greetings via the Internet, but for family and friends near and far, a homemade card is a lovely gift in itself, especially when it’s made by little hands.
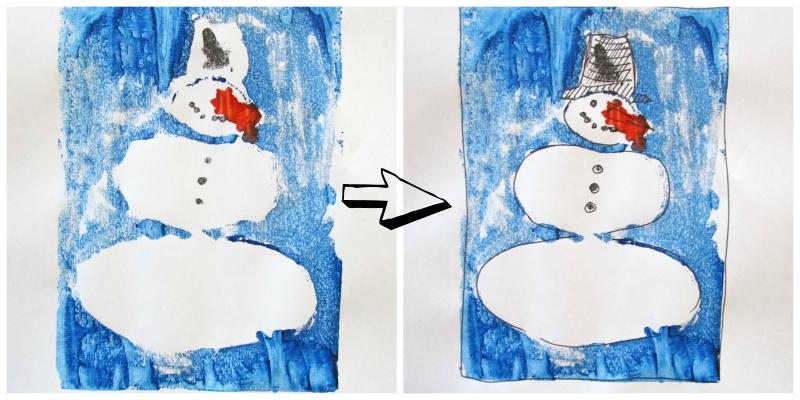
One of my favourite techniques for making greeting cards is monoprinting because the results are artistic and expressive. The goal is not to create a perfect, pristine picture but rather to "go with the flow".
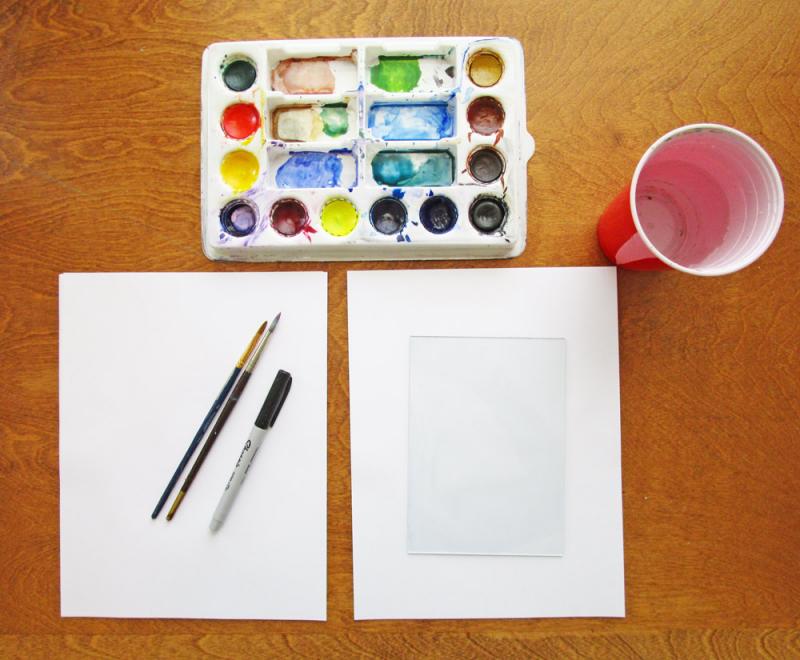
A printing plate. This can be a piece of plastic/Plexiglas®, or an old yard sale sign, or a piece of cardboard with plastic wrap. Even a flat cookie tray will do.
Paint, water and a paintbrush. Watercolour paint is recommended, mostly because it will not dry as quickly as acrylic or tempera (poster) paints. You need the paint to stay wet so the image will transfer easily onto paper. (If you have water-based printing ink, use it.)
Paper. We used sheets of computer printer paper but most any paper will do. However, I wouldn’t suggest construction paper because it tends to break apart when it gets wet.
Cardstock, poster board or construction paper. Once the prints have dried, you will cut them and paste them onto a heavier piece of folded paper to make them into cards. (If you print directly onto folded poster paper, you can eliminate this step.)
Scissors and glue. See above.
A permanent marker: This is optional but can be used for adding details.
Paper towel. Naturally.
Paint an image onto the plastic keeping in mind that the printed image will be in reverse (so stay away from words!).
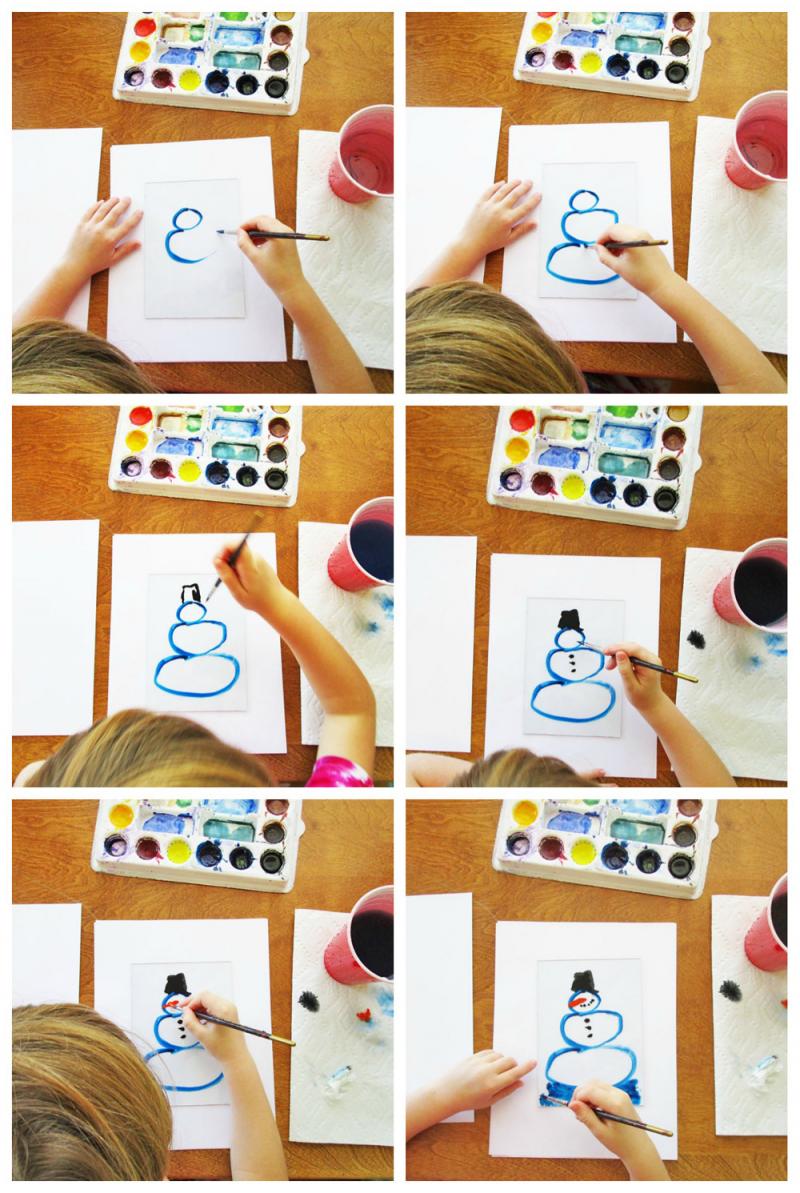
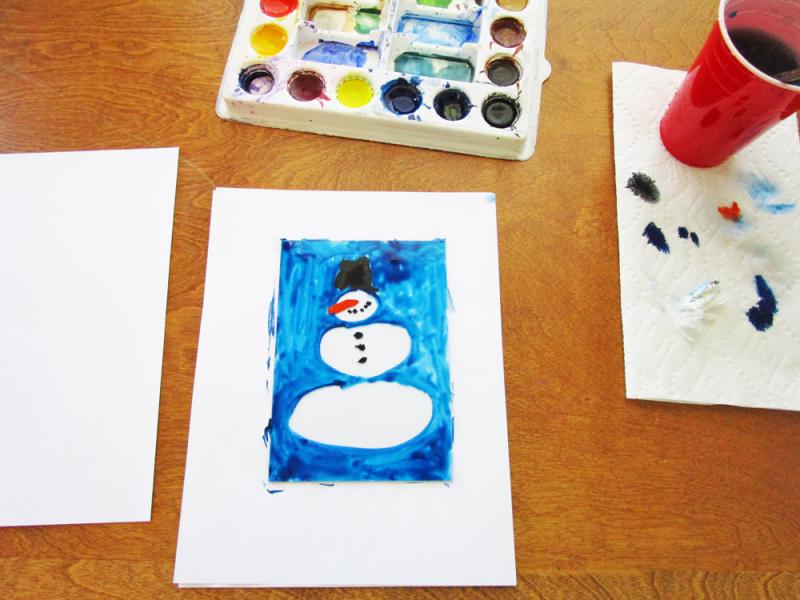
Working relatively quickly (don't let the paint dry), grab a piece of paper (or folded card stock) and place it on top of the plastic. Rub lightly to transfer the image.
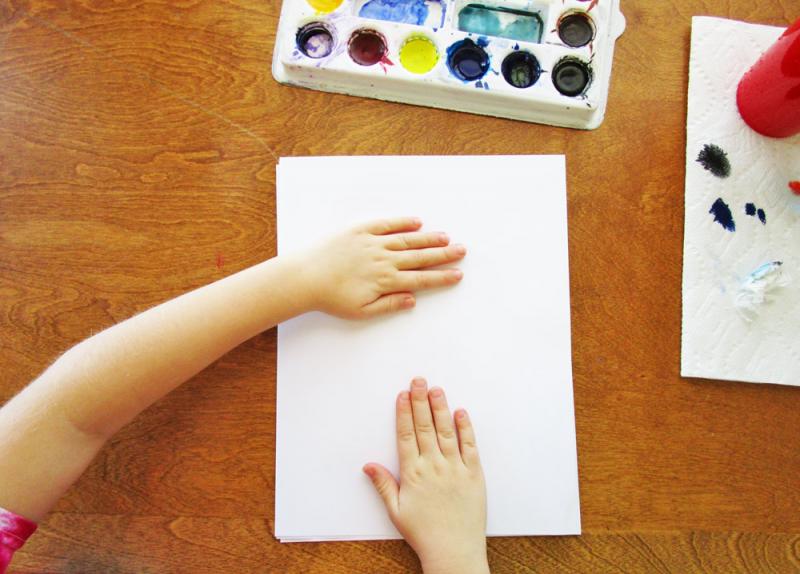
Peel off the paper to see what you've made.
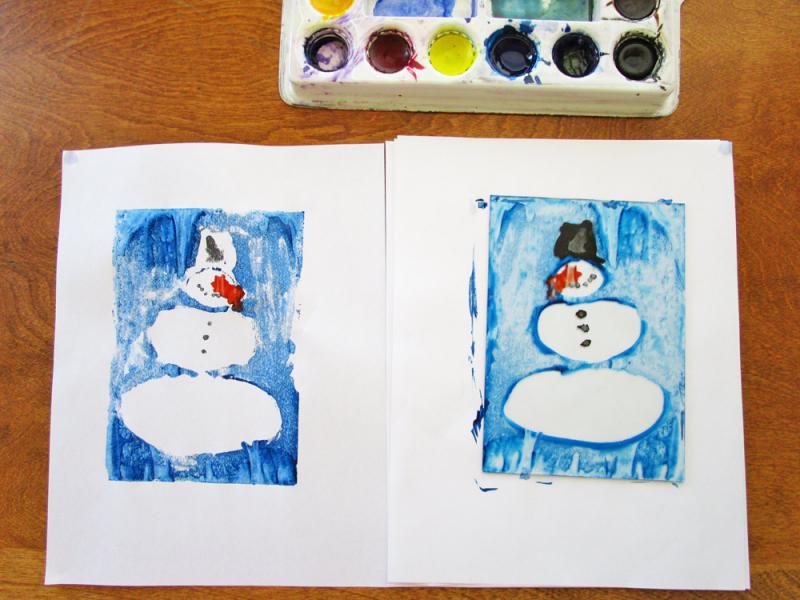
Rinse the printing plate clean so you can make more prints. Remember only ONE print is made each time you paint an image. That's what makes these MONOprints!
When the prints are dry, you can add details with a black permanent marker. This is an optional step but I find it helps to define any areas which may have become too "washed out" during the printing process.
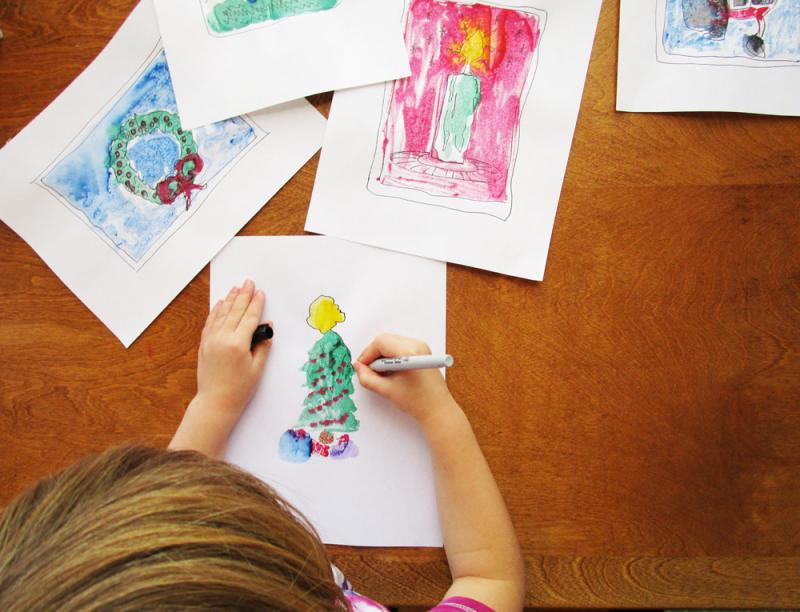
If you haven't printed directly on card stock, now is the time to cut out the images and glue them onto poster board or construction paper to turn them into greeting cards.
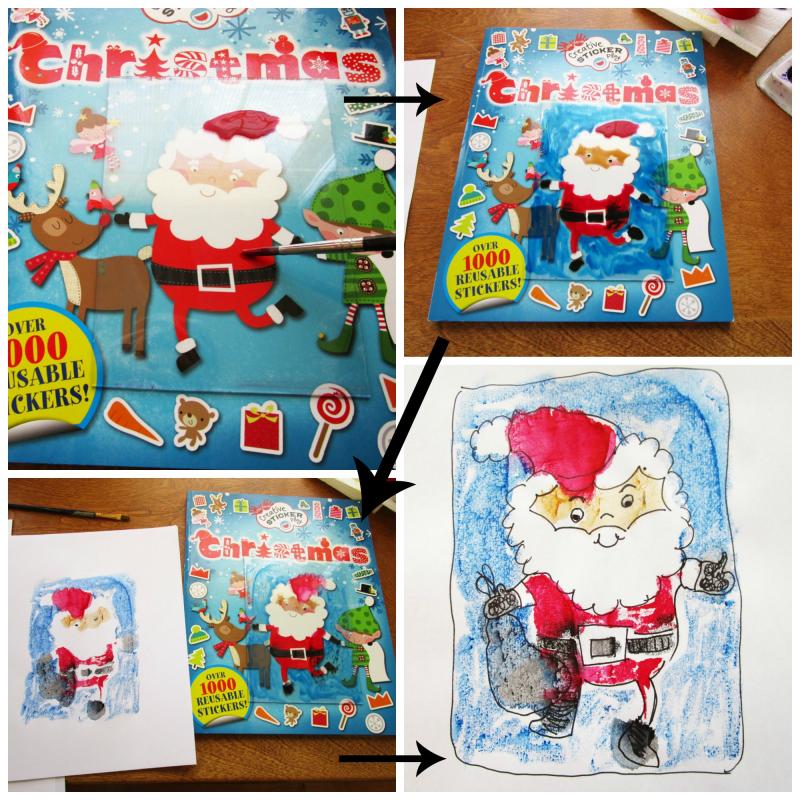
If you're not sure how to start from scratch, you can "cheat" by laying a piece of clear plastic or Plexiglas® on top of a photo or illustration and then painting what you see, directly on the plastic. Follow the directions as described above.
If you will be mailing your greeting cards, be sure to check with the post office ahead of time to make sure your cards won't be oversized (or undersized) because this will affect mailing rates. To be safe, make the cards to fit into standard greeting card envelopes.
Have fun!