
My very first job out of University involved me traveling from one coast of this country to the next on a regular basis. I spent at least two weeks of the month on the road and because of that I was able to see the majority of Canada before I was 25 years old. It was a great pre-kid job and I look back on those traveling days fondly.
One trip I remember like it was yesterday was the ten days I spent touring Nova Scotia. While I spent most of my days in Halifax I did attempt to eat lobster at as many little sea-side restaurants (though I use that term loosely) as possible.
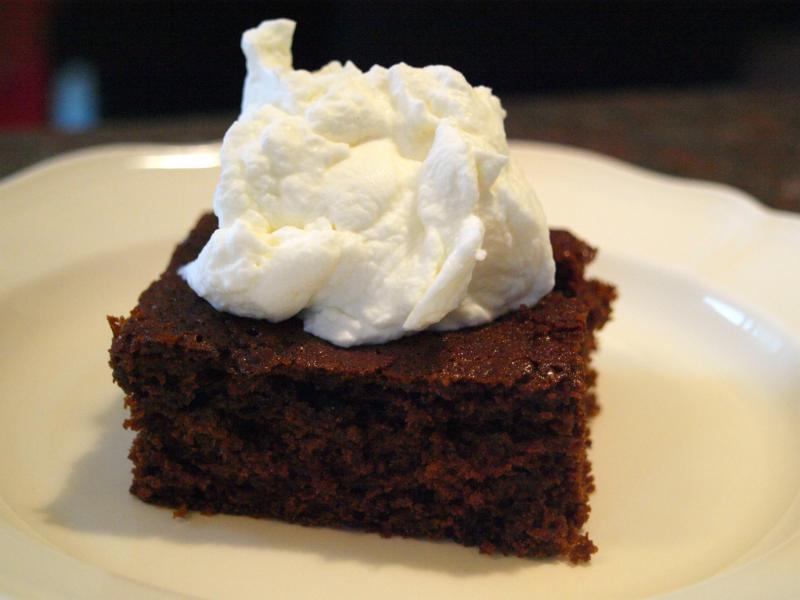
One afternoon in Halifax I came upon an Irish-themed pub and decided I was in need of a beverage and a snack. Within seconds of skimming the menu my eyes landed on gingerbread cake. I had never heard of it before but was assured by the waiter that it was a house specialty. My first bite of the dark moist cake (topped with homemade whipped cream) was memorable to say the least and I returned to that pub almost daily for the duration of my trip solely for the gingerbread cake.
When I was considering what recipes would fit the Canada Day theme this one immediately came to mind. While it is not quintessentially Canadian it does remind me of the time I sat on the shores of the Atlantic Ocean and fell in love with Nova Scotia—the landscape, the people and of course the food.
Ingredients
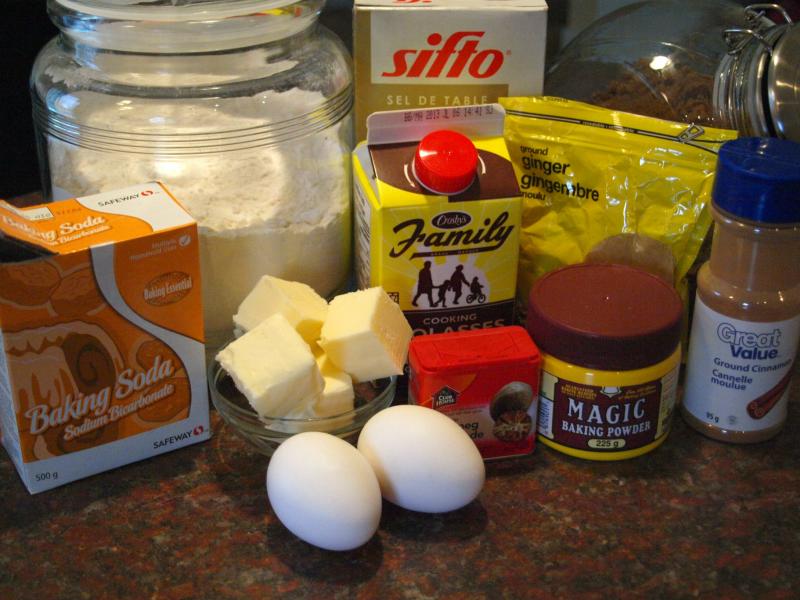
2 1/2 cups all purpose flour
2 tsp. baking powder
1 tsp. ginger
1/2 cup butter
1 cup brown sugar
1 cup molasses
1/2 tsp. salt
1/2 tsp. nutmeg
1/2 tsp. cinnamon
1 cup boiling water
1 tsp. baking soda
2 eggs, well beaten
 Preheat oven to 325F.
In bowl stir together flour, baking powder and ginger.
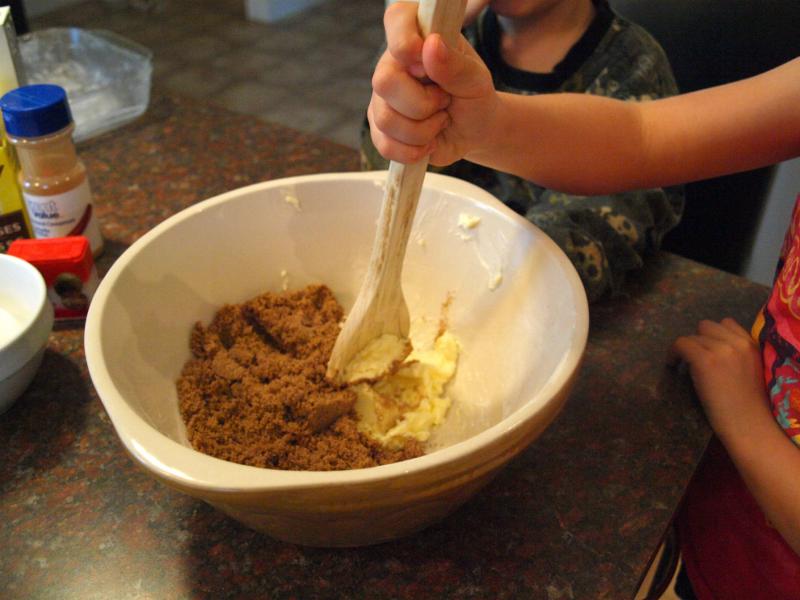
In separate bowl cream butter and brown sugar. Add molasses, salt, nutmeg and cinnamon and blend until smooth.
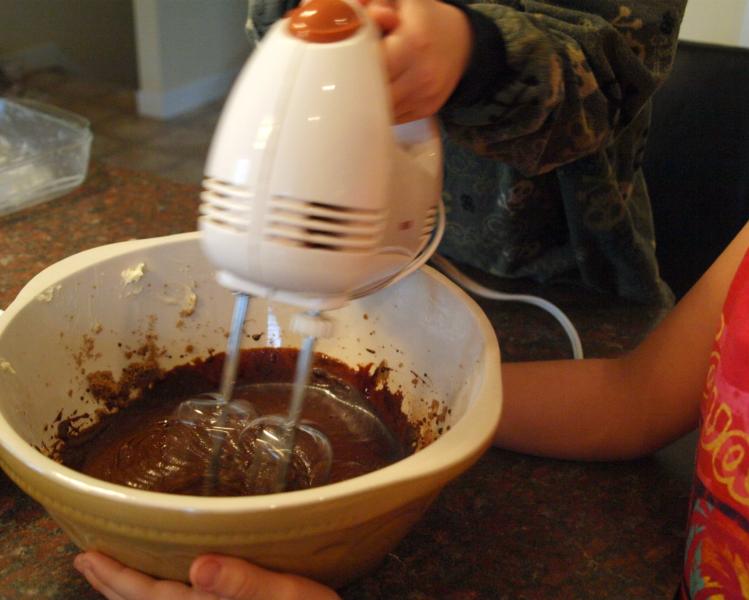
Pour boiling water over baking soda and add to wet ingredients.
Stir in dry ingredients until well blended. Add eggs and mix well.
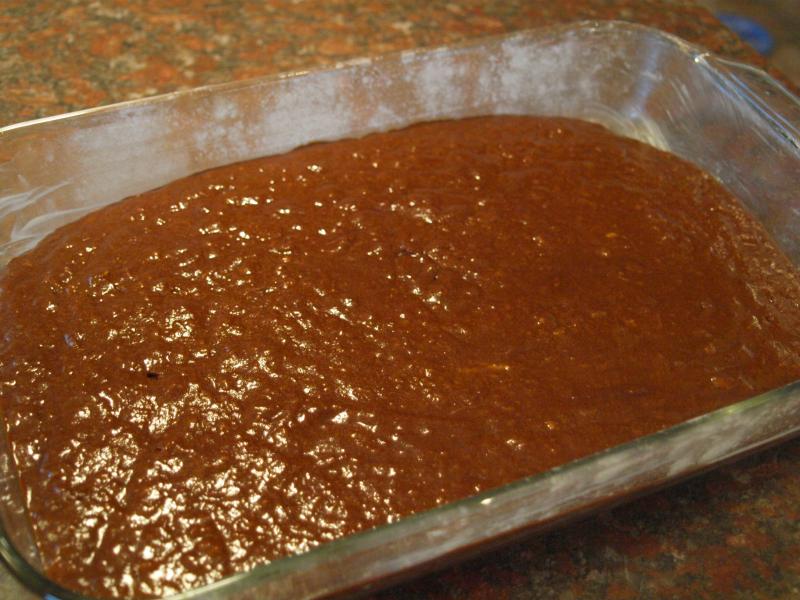
Pour batter into a greased and floured 9-inch x 13-inch cake pan.
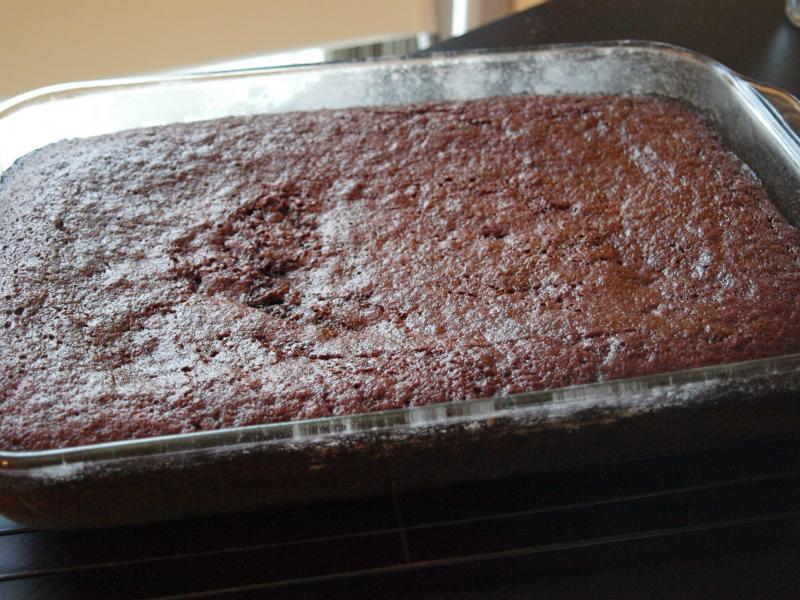
Bake 50-60 minutes. Let cool in pan on rack.
Serve warm (leftover slices can be warmed in microwave for 15-20 seconds) with dollops of Whipped Cream.
If you're looking for more Canada Day inspired recipes be sure to check out my Beer Rosemary Cheese Bread and my Butter Tarts and Karen's Nanaimo Bars.
Adapted from Five Roses Cook Book: A Guide to Good Cooking (circa sometime before I was born and missing its cover so I can't tell you exactly what year)

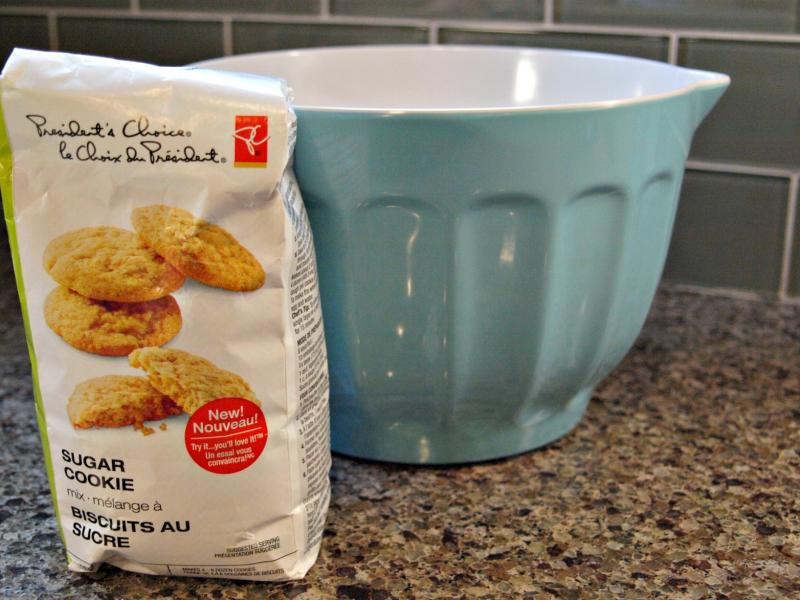
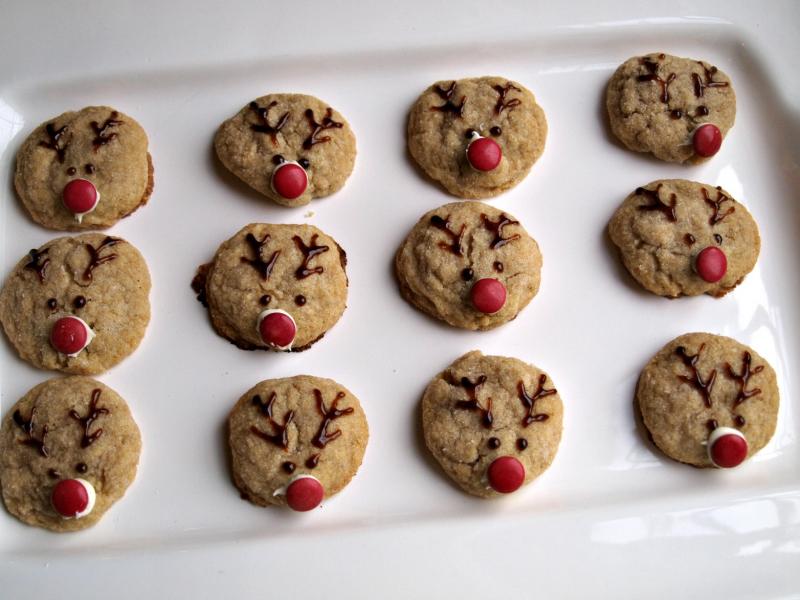
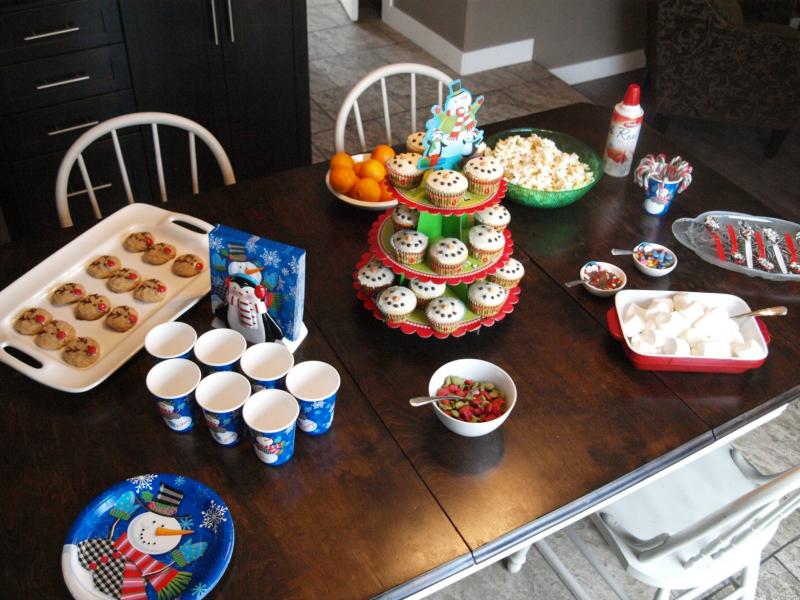
 Bake cookies according to package directions. I used the President's Choice package because the recipe does not involve any rolling of dough except in sugar before baking which makes the cookie yummy! Once completely cooled, use gel icing pen to create eyes and antlers. Using plain old table knife spread a bit of icing onto your Smarties and affix one per cookie as the nose. Enjoy with my just-as-easy-recipe for Slow Cooker Hot Chocolate.
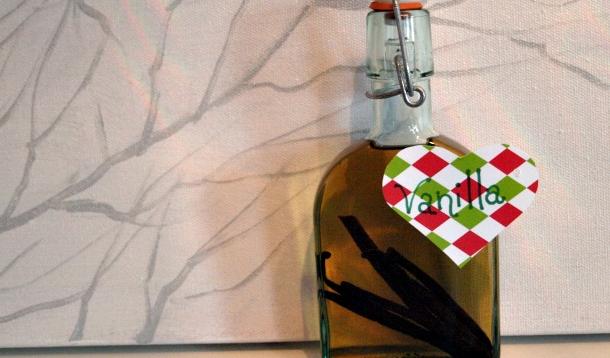
I know that vanilla is easy and fairly inexpensive to buy, but when paired with a cute gift tag and a family heirloom recipe for muffins or cookies, homemade vanilla makes a super cute DIY food gift for friends, neighbours, and colleagues.
 Vanilla Sugar: A Sweet Treat With A Powerful Punch
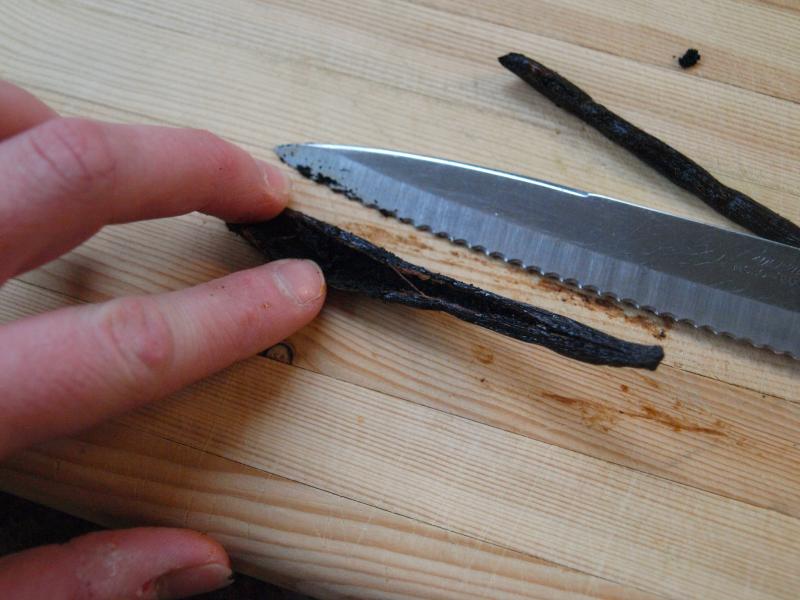
Simply cut your vanilla bean in half.

Then cut it lengthwise and pull open a bit.
Drop into a glass bottle.

Pour in vodka (I use Alberta vodka because of this of course).
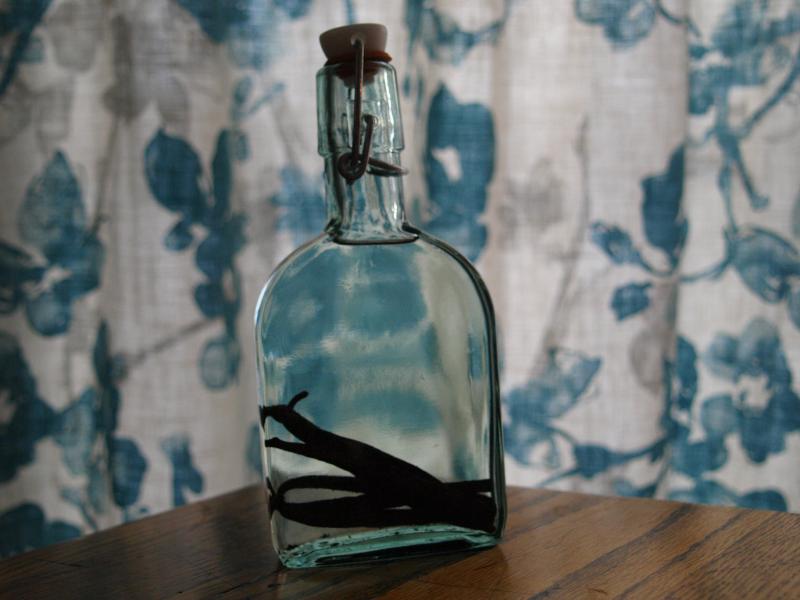
Let sit for a 25 to 30 days then it's ready to use!
Ingredients:

Note: amount of ingredients you require will depend on the size of bottle. For gifting, I would suggest a minimum sized bottle that would hold approx. 1/2 cup of vodka and a maximum size of bottle that would hold approx. 1 cup of vodka.
Vanilla Beans (I used 3 stalks per 1 cup of vodka)
Vodka (I used one cup of vodka)
Directions:
Cut desired number of vanilla beans in half.
Then cut each half lengthwise and pull open a tiny bit.
Place desired number of vanilla beans into bottles and fill with vodka, seal and shake gently.
Your homemade vanilla will be ready to use within approx. 30 days so if you're gifting and didn't start a month before simply include a "Ready to Use Date" on the gift tag.
PS: Looking for some of my other favourite food gifts? Check out my Top Five Easiest Holiday Food Gifts and my Homemade Baileys Irish Cream Recipe.

